Step by Step
Download the Refresh Template
Tip – not all .zip files have to be technically extracted. For some of them, you can go into the folder, copy the contents, and then paste them where you want. Do this for the contents of the Refresh.zip file you just downloaded.
This refresh template is a super generic one page website. You are goin g to change it to make it your own. The theme of the website will be:
- a color and
- a food
Change the Title, Logo Text and Slogan
The title of a web page is displayed the tab the page is loaded in. To change the title of the Refresh page, you need to open index.html with a text editor like Notepad++. The title for the page, “refresh” is on (or near) line 15 within the title tags. Change the title of your page to your name, a color and a food. Example – Scott’s Scarlet Sandwich Site
Next edit the logo and slogan. They are located around line 26 on the index.html file. Find the line that has:
<h1 id=”logo-text”>re<span class=”gray”>fresh</span></h1>
Change re to the name of a color and fresh to the name of a food.
Example – <h1 id=”logo-text”>Scarlet<span class=”gray”>Sandwiches</span></h1>
Next, change the text that says “put your site slogan here…” to a slogan about your colored food.
Next, you are going to change the class and color of the food word you used. The class starts as “gray”. That gray references line 321 of the Refresh.css doc. You need to navigate to the images folder in the Refresh folder. That’s where you will find Refresh.css. Open it in Notepad++. Find line 321 and change the color name and code to one that fits’ your site. You can use the RGB color editor to find a color you like.
Original – .gray { color: #CCC; }
Edited – .scarlet { color: #b31900; }
Next, go back to your index page and on line 27, change the word gray to whatever color word your chose. This will ensure your style is added to the index of your site. Save and preview to make sure your changes happened
Remember to save your work regularly.
Website Structure
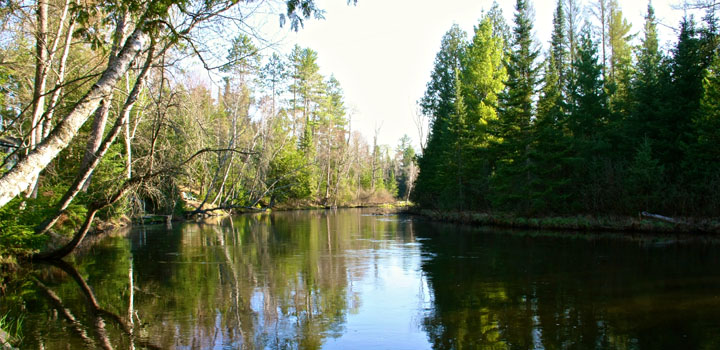
Websites meant to be viewed on a computer screen follow a pretty standard layout. – HTML Layouts and Techniques. In general, a website will have:
- a header at the top of the page. This is where the sites name usually is, often along with some related graphics.
- navigation (often called navbar) with links to pages within the site.
- a body (sometimes called main) that contains the main point of the page.
- a sidebar that may contain information supporting what’s on the page, additional links within the site, or external links to other websites.
- a footer at the bottom of the page
Each section of the website is divided up or separated by <div> tags.
Finding the H1’s
There are H1’s in 3 different <div> sections on the refresh website: the header, main, and sidebar. We are going to change the H1’s in the main and sidebar sections.
Use Ctrl+F to count the number of H1’s on index.html. Look at the page in your browser to identify where the H1’s are. Make changes so that all H1’s on the document are the same color. To do this, you have to find the sections of the Refresh.css document that control the H1 formatting for the sidebar and main section.
Open the Refresh.css document. Use Ctrl+F to find the “main”. Somewhere on or around line 240, you should see the hexadecimal code for the color of the H1’s in the main section of the page. Change that hexadecimal value to a color of your choosing. Follow the same procedure to find and change the H1’s on the sidebar. The sidebar H1 color you are going to change should be somewhere on or near line 275 of the Refresh.css doc.
<ol> and <ul>
Next you are going to make 2 lists. One will be an ordered list <ol> of you top 5 favorite something. The other will be a shorter, unordered list of a random topic, like list of 3 animals.
Start by finding where the ordered list <ol> starts on index.html, it should be somewhere on or around line 132. The original code looks like this
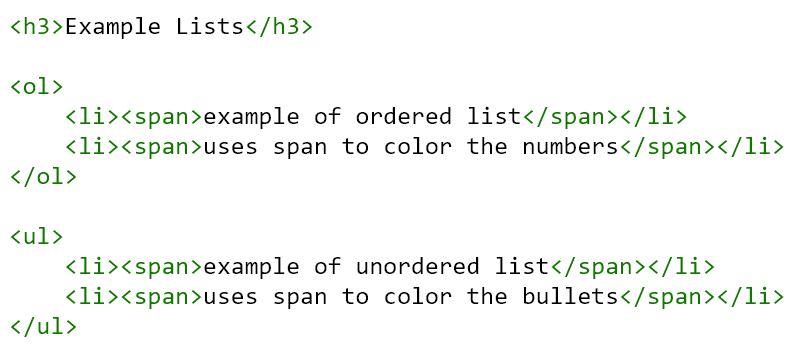
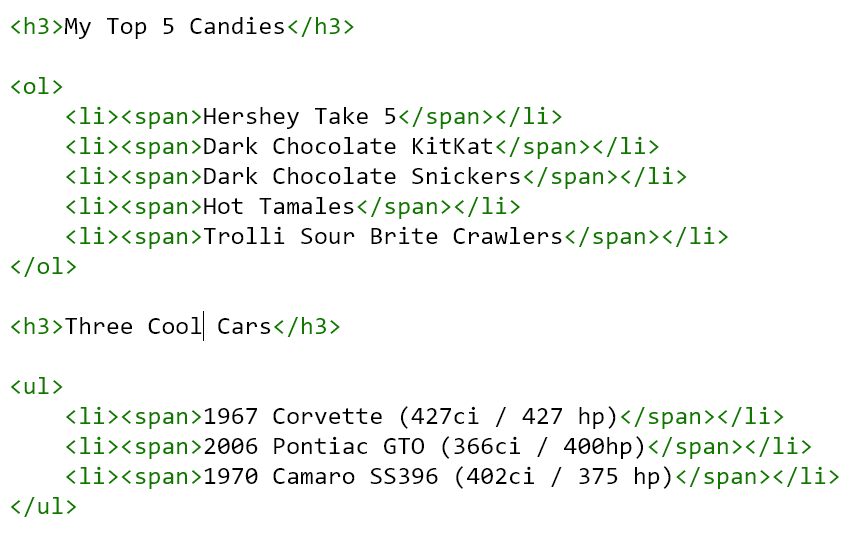
Change it to create the 2 lists described above. Be sure to code an additional <h3> heading after the </ol> to give a heading to your unordered list. Your completed lists should look something like this
The final part of editing the ordered and unordered lists will be to change the color of the numbers and bullets. If you guessed this would involve looking for an ol or ul in the Refresh.css doc, you are correct.
Firefox
Somewhere on or around line 150 of the index.html, you will find the code for the firefox logo on the page. You are going to change it from a gray firefox, to a color firefox. Replace the firefox-gray image.
First, find a colored firefox logo using Google, then save that image with the filename “firefox-color” in the images folder of your Refresh website. Here’s a quick video explaining that process if you are unsure how to do it –
Loom Video – how to search, find, and save a colored firefox logo.
Next, change the code so that your color logo replaces the old, gray logo. Here’s the original code:

Notice just under the 149 – src=”images/firefox-gray.jpg”. This is the code that tells the browser to look for an image called “firefox-gray.jpg” in the images folder. Like mentioned in the video, you need to know the type of file you are replacing the original gray image with.
I happened to download a .png for the new colored logo. Therefore, I need to make sure my edited code reflects that. Since I saved a .png image, that I named “firefox-color”, in the images folder, my edited code will look like this:
Making Forms Invisible
There are 2 forms on this page that we don’t need right now, but rather than delete the code, we are just going to make it so the browser doesn’t “see” them. The reason for doing this is that we may want to use them later. If we delete the code, we would have to rewrite it if we want these forms later.
Instead, we can use the comment tag to make the forms invisible to the browser, but still readable by humans. If you don’t put the comment tags exactly where they need to be, your webpage will break. Here’s where to put them.
Use comment tags to make the search feature and comment form disappear.
NavBar
Create a navigation structure – links that can go to all the pages within your website.
Pages
Create 4 more pages for your website.
External Links
Create hyperlinks to other relevant websites.
Create New Header Image
You need to consider that the blue area in the header is 78 px high. Be sure the size of the text you add is around between 60 and 70 pixels.
Next, navigate to the images folder through “My Computer”. Click on header.jpg to select it. Hit Ctrl+C to copy and Ctrl+V to paste. This will give you a back up copy of the header just in case.
Now open header.jpg in Photoshop. Once it’s open, create a new layer.
This is where you will create your new logo text. Go back to your new logo and select the layer containing your logo text. The layer should turn blue. Hit Crtl+C to copy. Go back to the header.jpg. Make sure the new layer is active (blue) and hit Crtl+V to paste your logo on top of the header.jpg.
Once you paste the merged logo, you will see dancing dashes around the image. This tells you it’s floating and can be moved. Use the move tool to re-position your logo and then hit the anchor button to anchor it.
Finally, save your newly created header image as header.jpg. Double check that it saves back to the images folder. If you save it as the correct file type (.jpg) and to the correct folder (images), then when you view you webpage (index.html) in the browser (by going to your web folder and double clicking on it), then you should see you new header pop up on top of your page
Next Steps
Time to take out the green and substitute it with other colors. When you look at the site, you’ll find green in 4 main places – the h1 (or level 1 heading) text, the hover hyperlink color, the nav bar under the header, and the two small square graphics – one is next to the h1 text and the other is next to the hyperlinks.
Change Link Hover Color
Let’s start with the text. Erwin, the author of Refresh 1.0, was kind enough to write nice, clean, understandable code. He included lots of comments to help us edit his work as well. The next edits we make will be in the .css file. Go into the images and open refresh.css in Notepad++. Near the top of the document you will see
/* links */.
The /* */ is how you comment out notes in style sheets. Erwin is simply telling us where the link formatting directions are.
The first link spec listed is “a, a:visited”. This indicates that the following formatting will apply to hyperlinks (a) and visited hyperlinks (a:visited) found on the main page. The hexdec listed is #4F82CB. This is the light blue hyperlink text color. The next link specification is “a:hover”. The hexdec listed is #4EBF37. This is the code that makes the link text turn green when you hover over a link. Change this hexdec to a color other than green. Save the style sheet as “refresh.css”
Change h1 Green
The next batch of green text we see on the index page are the h1’s or level 1 headings. It’s a little tricky to find the code for these in the .css file. That’s because there are a handful of h1 color specs in the .css document. The key is knowing where to find the h1 displayed at the top of the index page. The h1 we’re looking at is in the #main section of the .css document.
Look for the /* Main Column */ section. It’s about 2/3’s down the .css document, around line 230. The second thing listed under the main column section is #main h1. The color value is #88ac0b. This is a pea green color. This is the color of the h1’s on the Refresh index page. Change #88ac0b something other that green.
If you haven’t checked your work yet, now would be a good time to save the style sheet and open index.html in the browser to be sure your changes are working.
Change Green Navbar Background and graphics
Next job is to deal with the graphics’ greens. You will have to create 3 graphics to replace green graphics the site already uses. Let’s start with the navbar under the header. Erwin used an interesting method to make it green. What he did was create a green line that is 820 pixels (px) wide and 1 px thick. He saved it as menu.jpg.
Find menu.jpg in refresh.css. With the document open in Notepad, use the find command (Crtl+F) and search for “menu.jpg”. You’ll find the file listed under Erwin’s /* Menu */ section.
The code on line 231 of refresh.css gives the browser the following directions:
“When displaying the menu, find menu.jpg and repeat it downwards (along the y-axis) for the entire section. “
The code under #menu tells the browser to find (URL means Universal Resource Locator) the file “menu.jpg” and repeat it on the y axis – remember in math the y axis is the vertical or top to bottom axis – in the section of the page (
Paint over the green with a color from your color scheme. Be careful you don’t paint over the gray or white areas on the ends of the line.
Resave your edited graphic as menu.jpg. Be sure you save it in the images folder.
Replace Small Green Boxes
We’re in the home stretch. The last piece to removing all the green from Refresh 1.0 is to redo the green boxy graphics found next to the h1 text and the hyperlinks. These images are called go.gif (this image is displayed next to the hyperlinks) and square-green.png (found next to the level 1 headings) Use your creativity to craft replacements. The only requirement is the graphics need to be 15px by 15px. If you had a music site, you could draw a small music note. You could have a simple arrow, a piece of fruit or just a dot. Remember to include a color from your color scheme.
Use GIMP to draw your new graphics. You can name your new link graphic go.gif and simply save it over the old go.gif. Just remember that you will loose the original. However, save the h1 graphic with a new, descriptive name. Can you guess what else you’ll need to change to make your new h1 graphic active? If you guessed edit the #main h1 section of refresh.css, you guessed correctly! That’s the section of the css document that controls what image is displayed next to the h1. Replace the URL spec “square-green.png” with the file name for the graphic you created to replace square-green.png.
Yeah! If you’ve made it this far, you know about 2,000 times as much as your parents about what it takes to be a primo web designer! Remember how I said all the best looking websites start with an artistic vision? Well it’s time to exercise your creativity muscles and become a real webdev pro.
Getting the Goods
Once you’ve finished the paper stealing practice, you almost have enough web building knowledge to be dangerous. It’s time to commit. Find a web template to use for your magnum opus. Be sure you like it because you will be spending a lot of time with it. Look here for some great templates.
Develop a Color Scheme
One of the goals of this project is to remove all the green from this site.
Start by getting the hexdec (hexadecimal) value for a shade of blue in the header. Download ColorPix to your F: drive. Open up the header.jpg from the images folder by double clicking on it. Open colorpix.exe by double clicking as well.
Hover over the header until you see a color you like in the colorpix window. Hit a key to lock the color and then record the hexdec value in the top comment section of your .css file.
Label it “refresh header blue” and then save this as a .txt file called “colors”.
Now go to colorschemer to develop a new color scheme. Type the header blue value into the text box on the left side of the page. Hit “set hex” and then pick 3-4 colors you think would look good on your site.
Record the hexdec values along with a name for the color in the .css document.